Getting Started (Login & Initial Setup)
Logging In
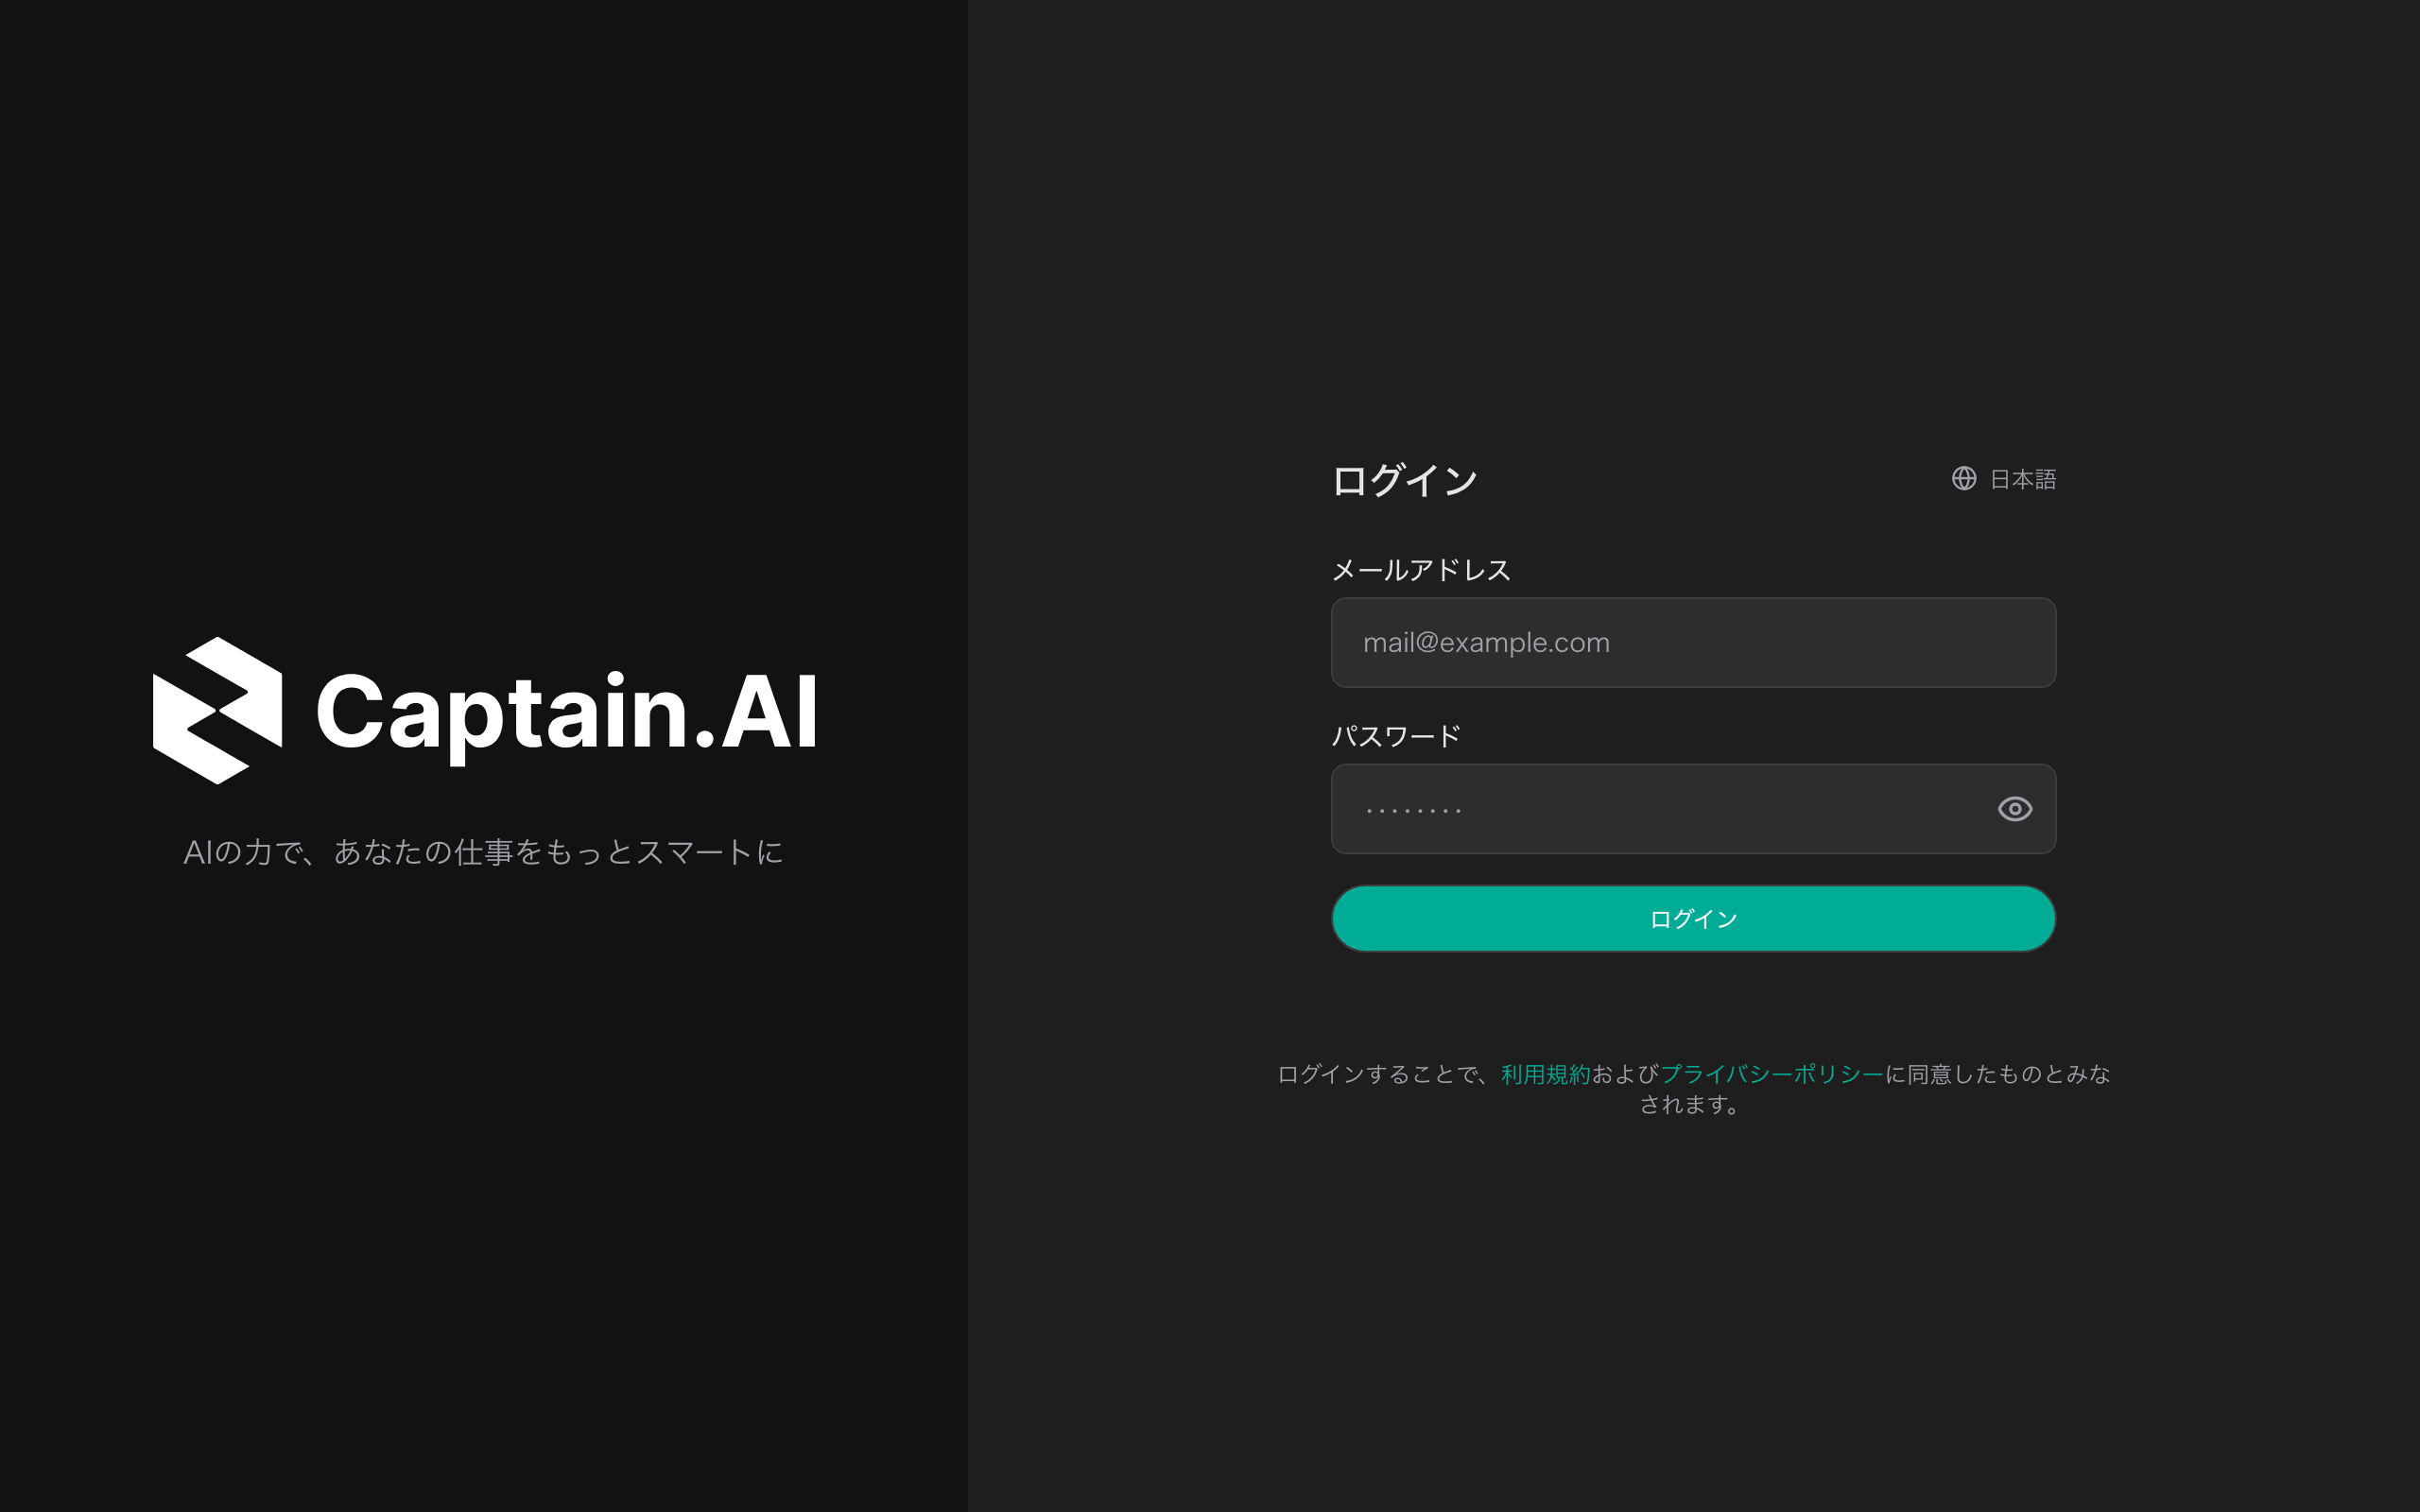
Logging in with email and password
- Open the Captain.AI URL in your browser
- The login screen appears
- Enter your email address and password
- Click the "Log In" button
- If two-factor authentication is enabled, you are taken to the verification code screen (see Authentication & Security for details)
Selecting a workspace
If you belong to multiple workspaces, the "Select a Workspace" screen appears after login. Select the workspace you want to use to enter the app (if you belong to only one workspace, this screen is not shown).
After logging in, you can switch workspaces at any time from the workspace selector in the header. Switching reloads the page, and all data — conversations, projects, and more — changes to that of the selected workspace.
If you forget your password
- Click the "Forgot your password?" link on the login screen
- Enter your registered email address
- Click the "Send Reset Link" button
- Follow the link in the email to set a new password
Account Registration
Captain.AI is invitation-only. You can create an account only if you receive an invitation email from an administrator.
- Click the link in the invitation email
- The registration screen appears
- Enter your name and password
- Click the "Create Account" button
- After registration completes, you are automatically redirected to the login screen
Screen Layout
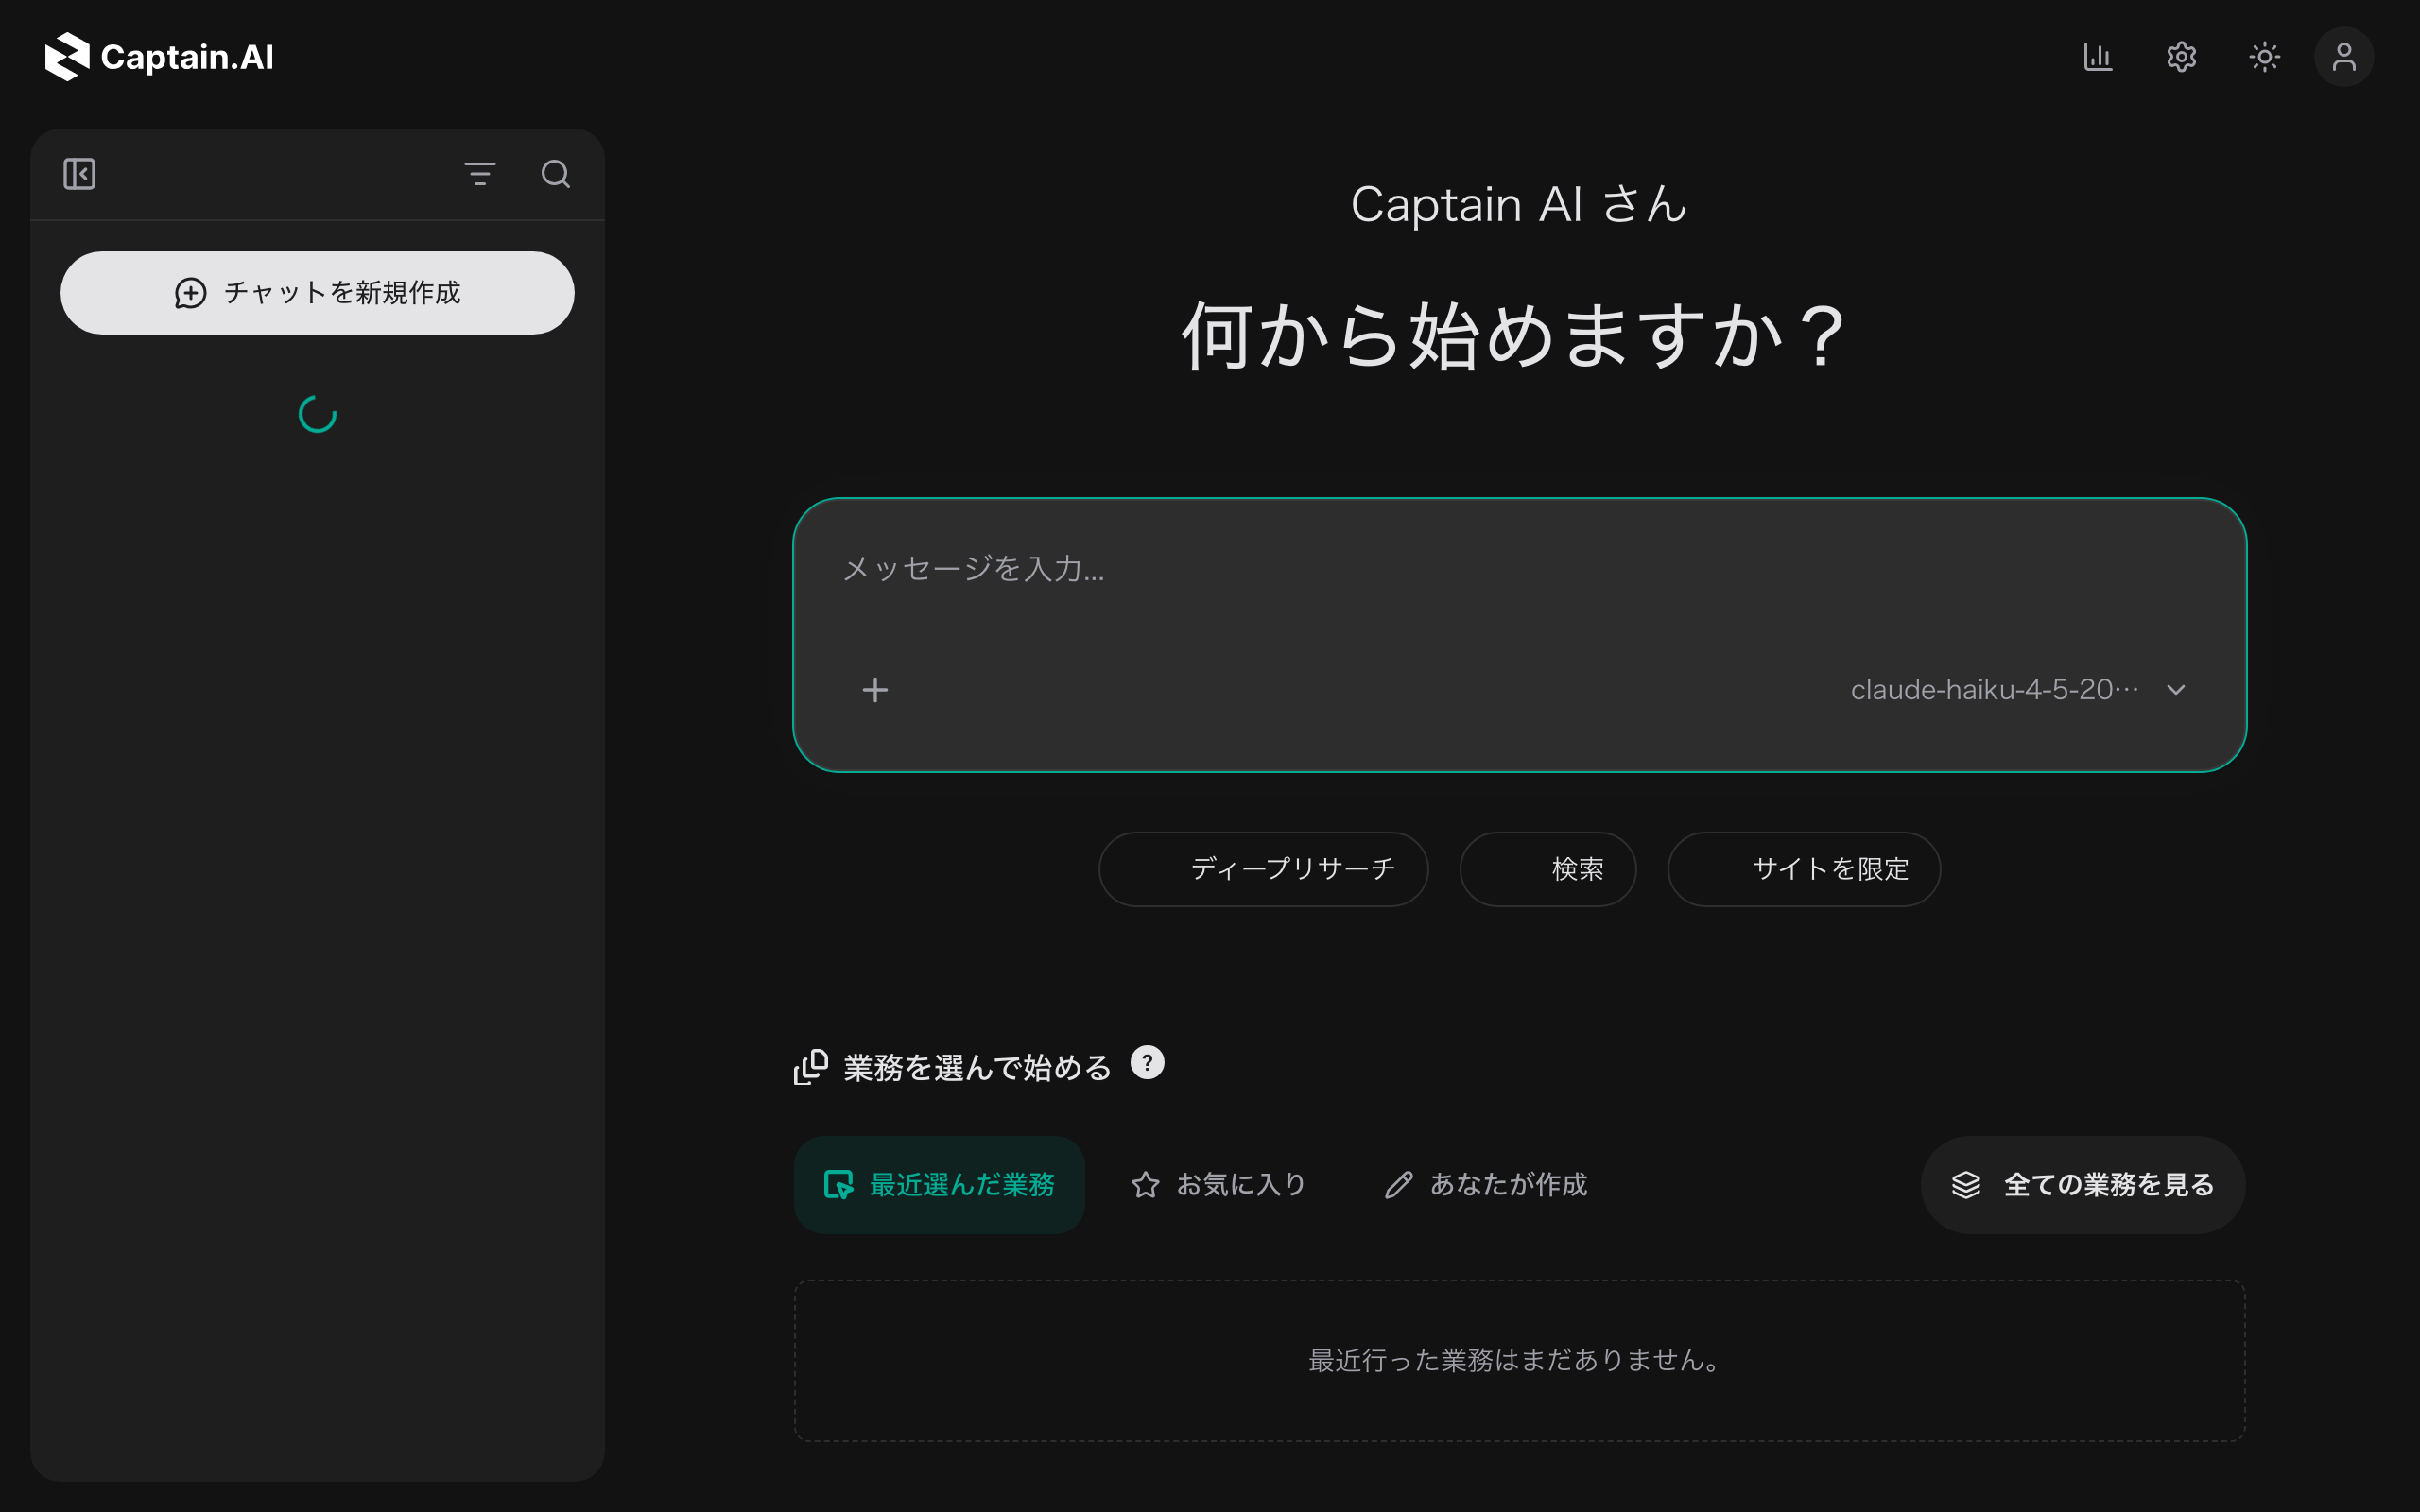
After login, the application is laid out as follows.
Header
The bar always displayed at the top of the screen. Navigate between pages via the logo and the sidebar; status indicators and settings menus sit on the right side of the header.
| Element | Description |
|---|---|
| Logo | Click to go to the home (chat) screen |
| Workspace selector | Switch between the workspaces you belong to (shown only if you belong to more than one) |
| Notifications (bell icon) | View release notes |
| Gear icon | Open the settings modal and admin screens (shown only to users with an administrator role) |
| Theme toggle | Switch between light and dark themes |
| User icon | Show the "User Settings" and "Log Out" menu |
Depending on your organization's settings, a credit usage bar or a usage analytics icon may also be displayed.
Sidebar
The panel displayed on the left side of the screen. From top to bottom, it consists of:
- Create New Chat: start a new conversation
- Projects: list of projects and the conversations that belong to them (may be hidden depending on your organization's settings)
- Pinned: pinned conversations (reorder by dragging)
- Recent Chats: list of recent conversations (click "Load More" to show older ones)
Use the icons at the top of the sidebar to search chats or filter by job. For each conversation, right-click or use its menu to rename, pin, or delete it.
Main area
The content area in the center of the screen. It displays the content of the selected page.
Right panel (chat screen)
The unified panel displayed on the right side of the chat screen. It brings together all the information related to a conversation in one place.
| Section | Contents |
|---|---|
| Progress | Shows the progress and completion status of running tasks (displayed only if enabled in your organization's settings) |
| Files | Manage session files with the "Folder" tab (Uploaded / Generated / Other files) and the "File browser" tab |
| Library | Knowledge and memory search results referenced by the AI, Context (references to other conversations), and shared drives (displayed only if enabled in your organization's settings) |
The right panel can be resized by dragging. Each section can be collapsed and expanded individually.
Details: See Chat for how to use each section.
Mobile Support
When accessed from a smartphone or tablet, the screen automatically switches to a mobile layout.
- The header menus are collapsed into a hamburger menu
- The sidebar is displayed as an overlay
- Modal dialogs are displayed full-screen
Switching Language and Theme
Switching the language
- On the login screen, use the language toggle button on the page
- After logging in, change it under User Settings > Appearance
- Japanese and English are supported
Switching the theme
- Use the theme toggle icon in the header to switch between light and dark instantly
- You can also change it under User Settings > Appearance