Chat
Overview
The chat feature is the core of Captain.AI. You can converse with AI agents in real time to execute tasks and get answers to your questions.
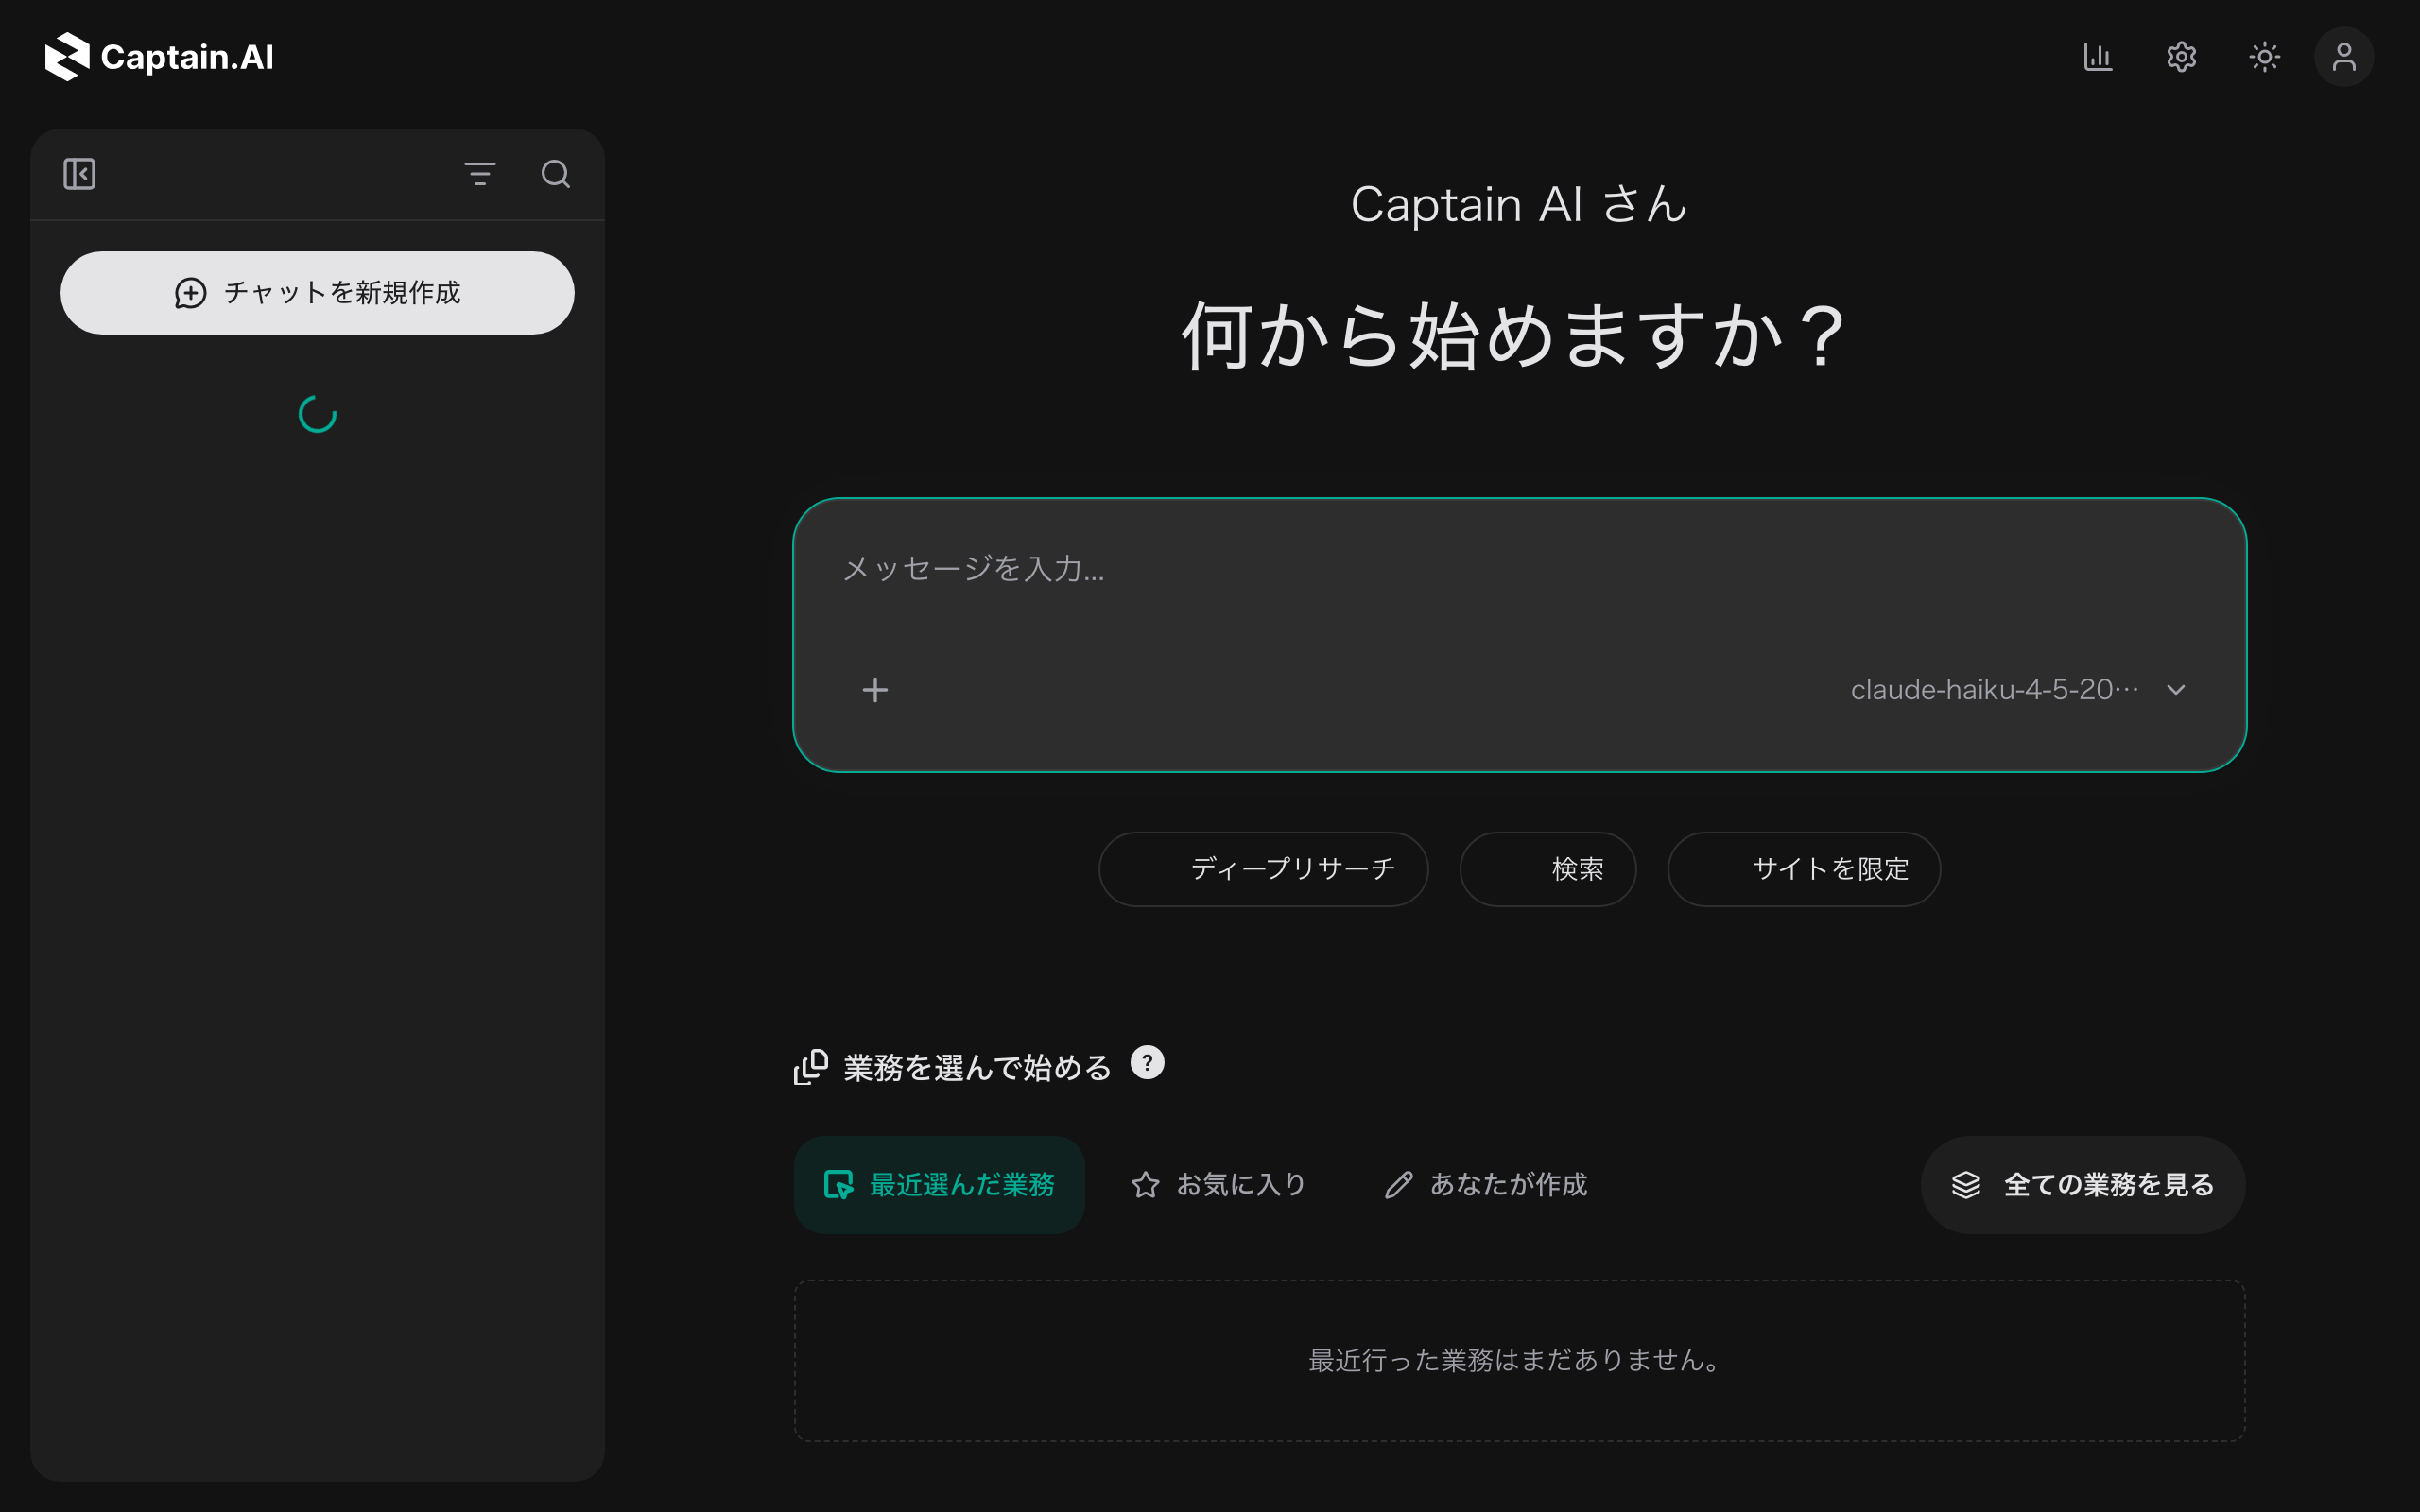
Starting a New Conversation
Start from the Home Screen
- Click the logo in the header to go to the home (chat) screen
- Type your text into the message input field and click the send button (or press Enter)
Start from the Sidebar
- Click the "Create New Chat" button at the top of the sidebar
Selecting an Agent
Use the agent selection dropdown above the chat input field to switch the agent used in the conversation.
- When you select an agent, responses are generated based on the workflow (steps) configured for that agent
- After switching agents, subsequent messages are handled by the newly selected agent
- The available agents are those created by system administrators or by you
- Agents with access restrictions may not be selectable
Switching AI Models
You can switch the AI model in use mid-conversation.
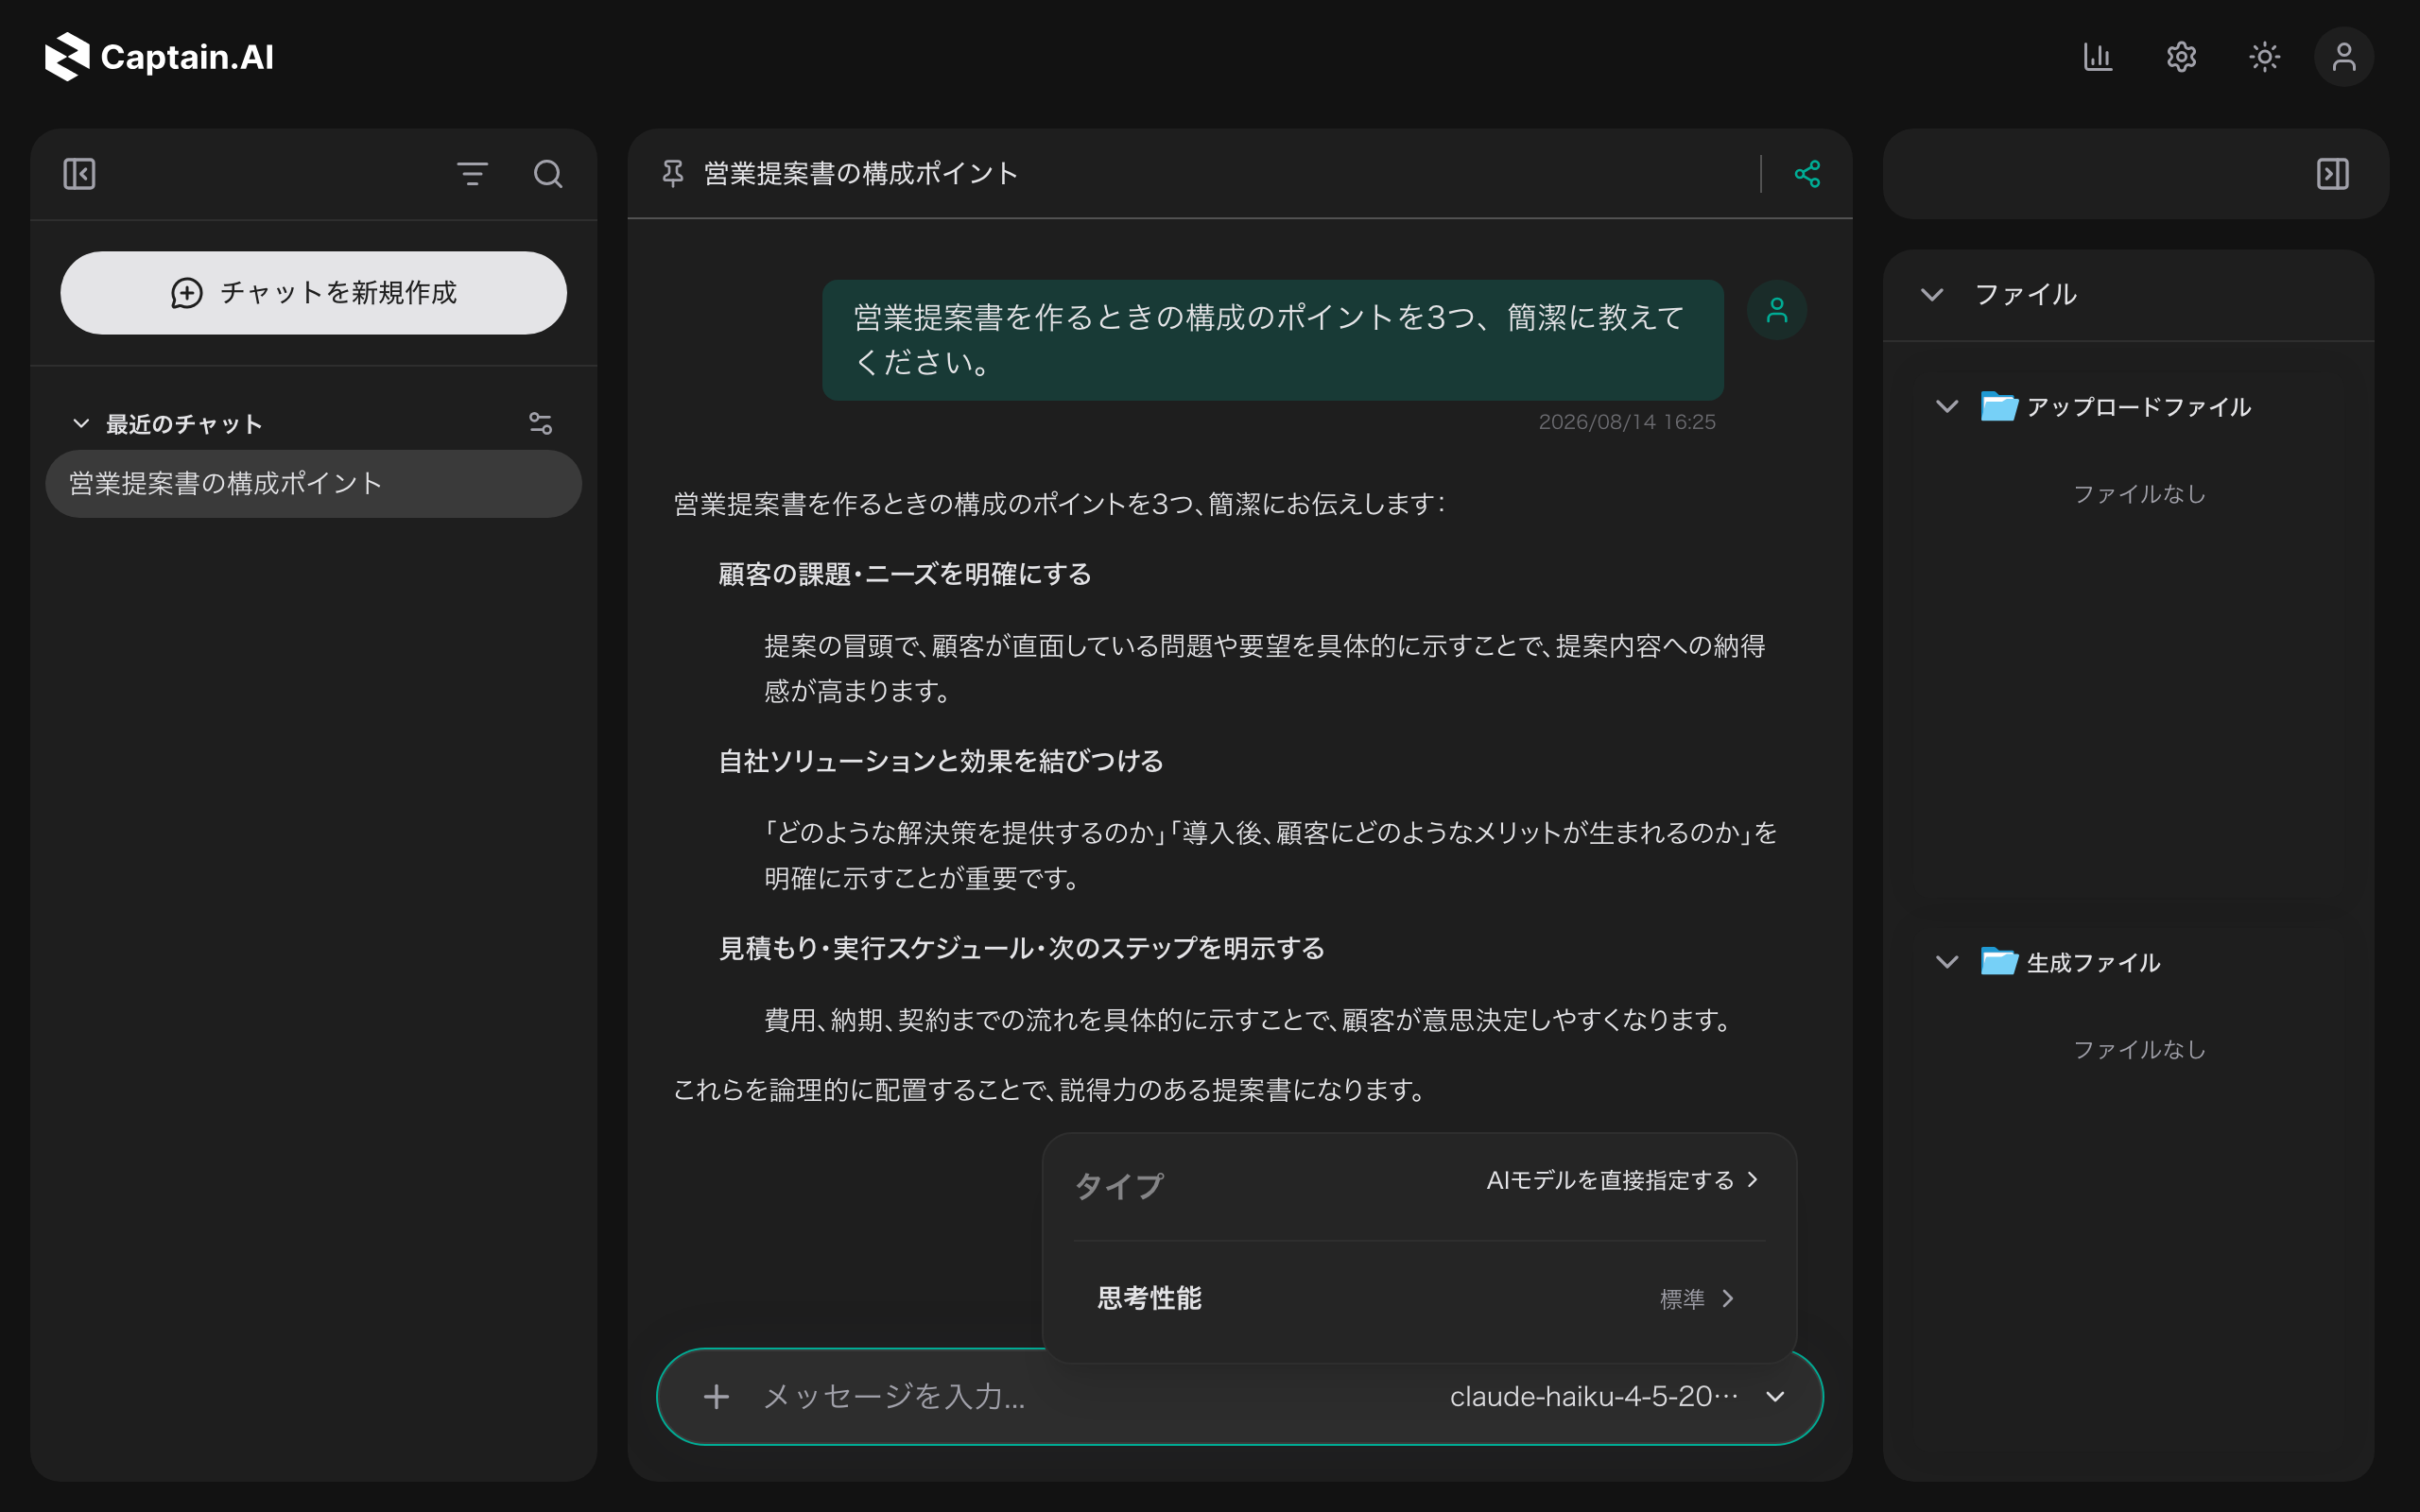
- Click the model name in the input field to open the selection panel
- Choose by purpose from "Type" (Fast / Standard / Pro / Research), or pick an individual model via "Pick AI model directly"
- The switch takes effect from the next message you send. When you switch, "Switched from X to Y" is shown in the conversation
- Even if multiple models are mixed within the same conversation, the conversation history continues to carry over
Note: The available models depend on your organization and group settings. Models published only to specific groups do not appear in the options. Only the conversation owner can switch models.
Thinking Performance (Depth of Thought Before Answering)
For models that support thinking, "Thinking performance" appears at the bottom of the model selection panel.
| Level | Characteristics |
|---|---|
| Standard | Uses the model's default. Balances speed and quality |
| Low | Light reasoning. Fastest, best for simple questions |
| Medium | Standard depth. Balanced for most tasks |
| High | Deep reasoning. For complex reasoning and hard problems. Slower and costlier |
If you choose anything other than "Standard", the level name is shown next to the model name.
Sending Messages
Text Messages
- Type your message into the input field at the bottom of the screen
- Press the Enter key to send (Shift+Enter for a line break)
- You can also send by clicking the send button (arrow icon)
Operations While Streaming (Message Queue)
Even while the AI is streaming a response (processing), you can send your next message.
- If you send while processing, the message is added to a queue and shown above the input field as "Queued (N)" (up to 10 per conversation)
- You can reorder queued messages by dragging or with the arrow keys, cancel them individually, or use "Clear all"
- Once the current response completes, queued messages are sent automatically starting from the front of the queue
- Use "Stop Generating" (the red stop button) to interrupt streaming. The Esc key also stops it, and if the worker has not started processing yet, you can cancel the send itself and return the content to the input field
- The contents of the input field are auto-saved per conversation, so your draft remains even if you leave the page midway
Attaching Files
- Select a file via the "+" menu → "Add File/Photo" in the input field (you can also paste from the clipboard; screenshots can be attached directly with Cmd/Ctrl+V)
- Uploaded files are shown as previews in the input field
- They are sent along with your message
- Hover over the clip icon to see the supported file formats (documents / images / media / code) and size limits
- The limit per file is 100MB (300MB for audio and video)
- Attached files are displayed inline within the chat
Voice Input
Use the microphone icon ("Voice input") to transcribe what you say and append it to the input field.
- Recording lasts up to 5 minutes and stops automatically after 30 seconds of silence
- It can be used even while streaming
Voice input is only shown when the voice feature is configured for your organization.
Viewing Responses
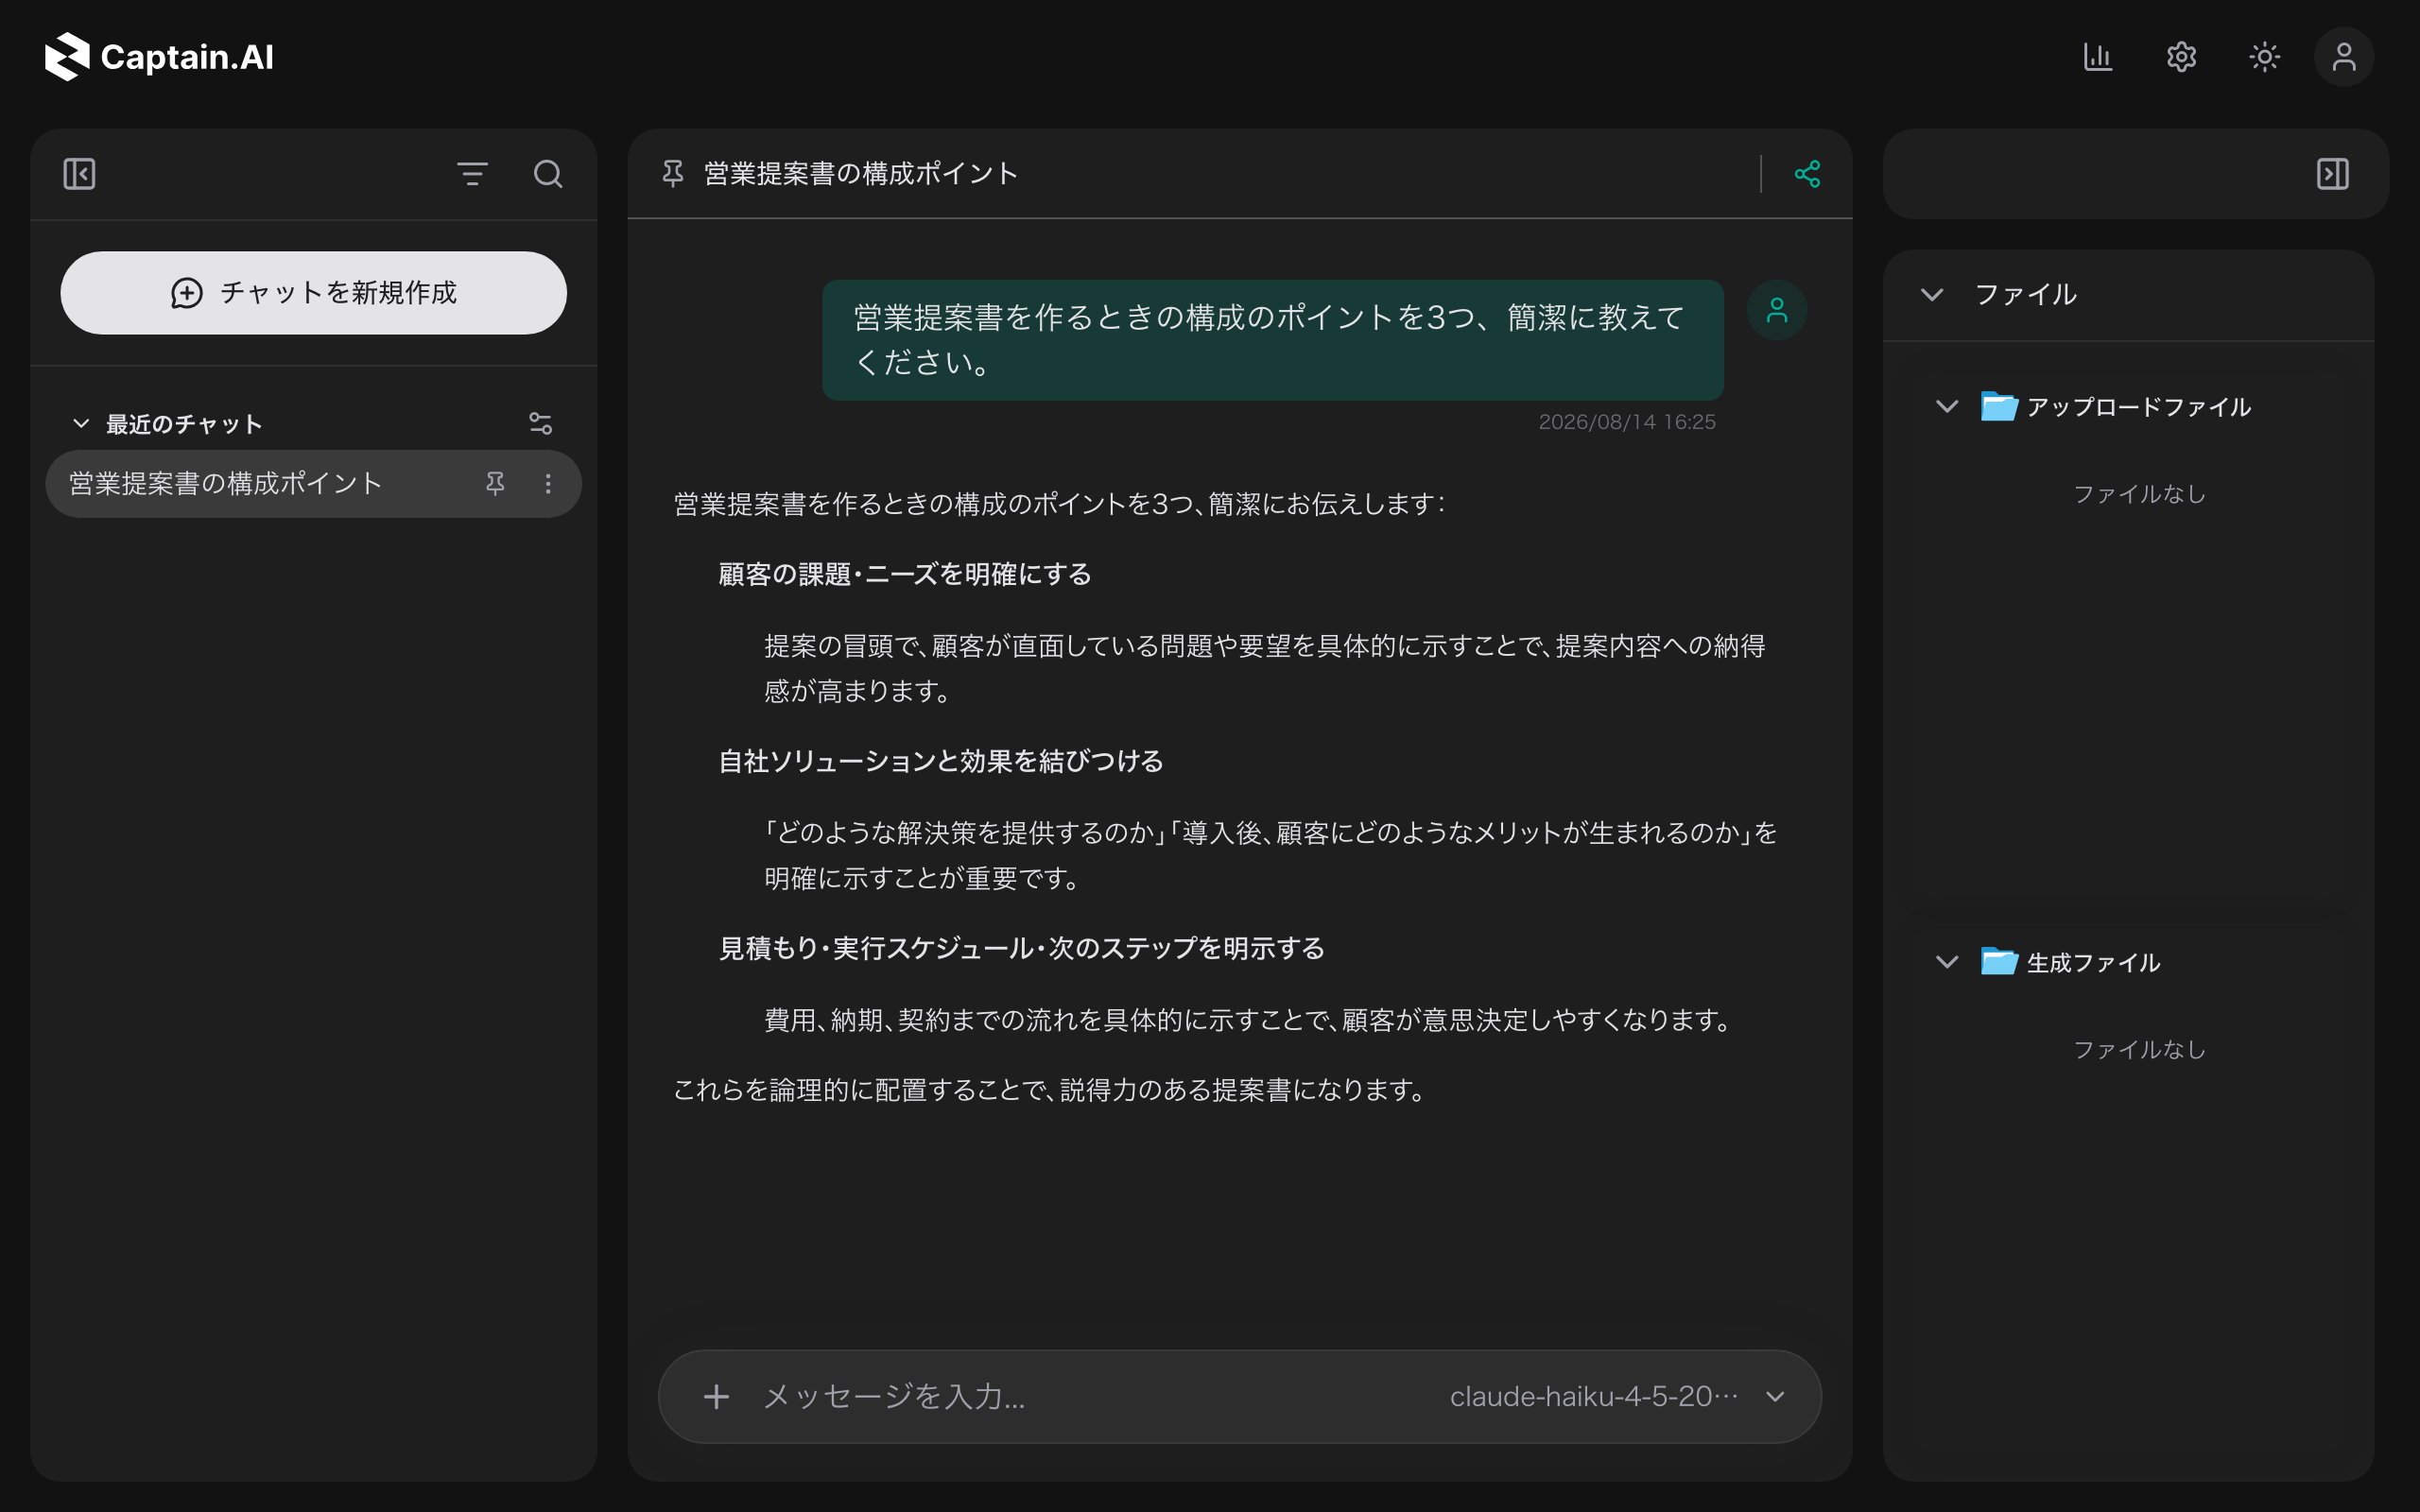
Responses from AI agents are streamed and displayed in real time.
Elements Included in Responses
| Element | Description |
|---|---|
| Text | Text rendered in Markdown format |
| Code blocks | Code display with syntax highlighting |
| Tool executions | Execution results of tools used by the agent (code execution, file read/write, etc.) |
| Thinking process | Display of the agent's thought process (expandable/collapsible) |
| Mermaid diagrams | Rendering of diagrams written in Mermaid notation |
Tool Execution Logs
While the AI is using tools (running commands, editing files, searching, etc.), by default only a simple progress indicator such as "Running a command" is shown.
To see detailed logs, turn on User Settings > Appearance > "Show detailed execution logs". A collapsible tool execution group ("Used N tools") appears in the conversation, and expanding it lets you inspect each tool's inputs and outputs.
Asking About a Response (Quoted Questions)
When you select part of an AI response by dragging, an "Ask about this" pill appears.
- Select the part you are interested in and click "Ask about this"
- A quote chip is attached above the input field (remove it with the × on "Clear reference")
- Type your question and send it to ask with the selected passage as context
Use "Go to source" on the quote chip to jump to the original message.
Questions to the User (Ask User)
If the agent needs your judgment or additional information while processing, a question modal appears.
- The agent's question is displayed
- Enter your answer
- When you send it, the agent receives your answer and continues processing
Managing Conversations
Conversation List
A list of conversations is shown in the sidebar.
- Conversations are sorted newest first
- Scroll to view past conversations
- Click a conversation name to switch to that conversation
Renaming a Conversation
- Hover over the conversation in the sidebar
- Click the edit icon that appears
- Enter the new name and confirm
Deleting a Conversation
- Hover over the conversation in the sidebar
- Click the delete icon that appears
- Select "Delete" in the confirmation dialog
Note: Deleted conversations cannot be restored.
Sharing a Conversation
From Share in the chat header, you can share a conversation with groups or individual users.
- Switch between the group and user tabs to choose who to share with
- For conversations that belong to a project, the sharing scope follows the project's settings (individual sharing settings are locked)
- Conversations shared with a group can also be viewed from the "Shared Sessions" tab in the group details (see Group Management)
Referencing Conversations (Add to Context)
You can pass the contents of another conversation to the AI as context for the current conversation. This lets you bring in past research results or design decisions you want to carry over on the spot, so you no longer need to explain everything from scratch each time.
Note: This feature is only shown when it is enabled in your organization's settings (session reference feature).
Adding a Reference
- Click "Pick a conversation to add" in the "Context" panel inside the "Library" section of the right panel
- In the "Add a conversation to context" modal, choose the conversation you want to reference
- You can browse via the "Recent", "Favorites", and "Shared" tabs (the preview lets you check the message contents)
- Click "Add to context", and the referenced conversation appears in the Context panel
The contents of the referenced conversation are automatically inserted into the prompt sent to the AI. You can add up to 5 references.
Removing a Reference
Click "Remove" on a reference row to remove that conversation's reference. Once removed, it is no longer passed to the AI in subsequent messages.
Referencing Shared Conversations
Conversations shared with your group can also be selected as references from the "Shared" tab. This is handy when you take over research that another member has been working on.
Saving Memories ("Remember this" / /remember)
You can save important facts that come up in a conversation as memories in Captain.AI. Saved memories are automatically injected into the AI's context in subsequent chats.
How to Save
At the end of a chat message, write one of the following and send it.
| How to write it | Behavior |
|---|---|
| An imperative at the end such as "Remember this" or "Keep this in mind" | Opens the modal for choosing where to save |
/remember ... | Save explicitly with a slash command (only scopes you have permission for are shown) |
Choosing Where to Save (Scope)
Choose one of the following three destinations. The available scopes depend on your permissions.
| Scope | Shared with | Use for |
|---|---|---|
| Personal | Only you | Your preferences and frequently used information |
| Project | Members of the same project | Design decisions and assumptions you want to share with the team |
| Organization | Everyone in the organization | Company-wide rules and term definitions |
Note: Scopes you do not have permission for are not shown in the options.
Reviewing and Deleting Saved Memories
Depending on the scope, you can review, edit, and delete memories in the following places.
| Scope | Where to check |
|---|---|
| Personal | Personal memory in User Settings |
| Project | The "Memory" tab in the project details |
| Organization | "Memory & RAG Settings" → "Organization Memory" in the settings modal (administrators only) |
Handing Off a Conversation (Continue in Another Job or Session)
You can continue working in another job (agent) or another session while keeping the flow and artifacts of the current conversation. Use this when you want to pass research results on to a different specialist agent, or join a past session.
Note: This feature is only shown when it is enabled in your organization's settings (session reference feature).
Starting a Handoff
- Click "Hand off" in the chat header
- In the "Continue in another job / session" dialog, choose the destination job
- Next, choose the destination session
- Either "Create a new session" or pick an existing session to join
- If needed, choose the files (artifacts) to attach with the handoff
- Enter the handoff details and any additional instructions (optional) and execute; you are taken to the destination conversation screen
A reference back to the original conversation is automatically registered in the destination conversation (bidirectional). This mechanism automatically delivers the original conversation's context and artifacts to the destination agent.
When Handoffs Are Useful
- Bridging agents with different specialties, such as research → drafting, or drafting → review
- Joining a shared session that a teammate has been driving and taking over the next steps
- Resuming a session you previously ran in the same job
Checking Conversation Costs
If cost display is enabled in your organization's settings, a coin icon and the conversation's cumulative cost appear in the chat header. Click it to see the breakdown of token usage (input / output / cache reads and writes).
Keyboard Shortcuts
| Shortcut | Action |
|---|---|
Enter | Send message |
Shift + Enter | Insert line break |
Esc | Stop generation (cancel the send if processing has not started) |
Cmd/Ctrl + V | Attach an image or file from the clipboard |
Access Restrictions
- If you do not have access to a shared conversation, an "Access Denied" screen is shown
- If you access a URL for a conversation that does not exist, a "Conversation Not Found" screen is shown
- If a system error occurs, an error screen is shown